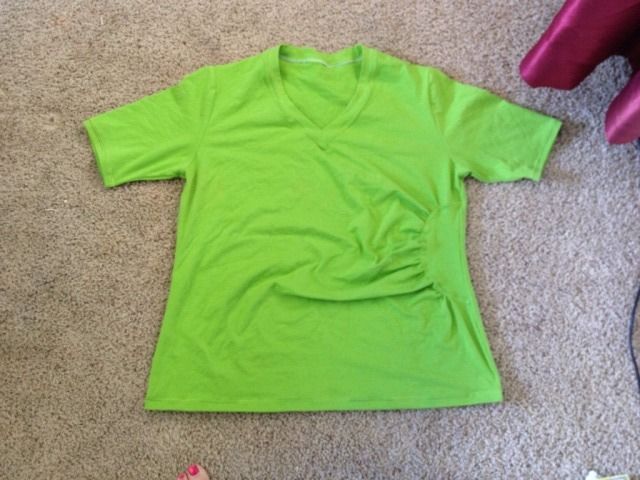
 I had an idea for a shirt after looking around on Pinterest last night. It was so cute. It had a side cut out that was then gathered or ruched to the side of the cut out. Here's how my pattern turned out. Excuse the curtain and toe, I never promised to be a professional photographer.
Would you like to know how I altered the pattern? Well for starters I picked one of my favorite basic tee shirt patterns. This one happened to be Jalie 2805. I love their patterns because I can make them from kid size to adult size all from the same pattern. I used view C here only I lengthened the sleeve. I like my sleeves to hit just above the elbow.
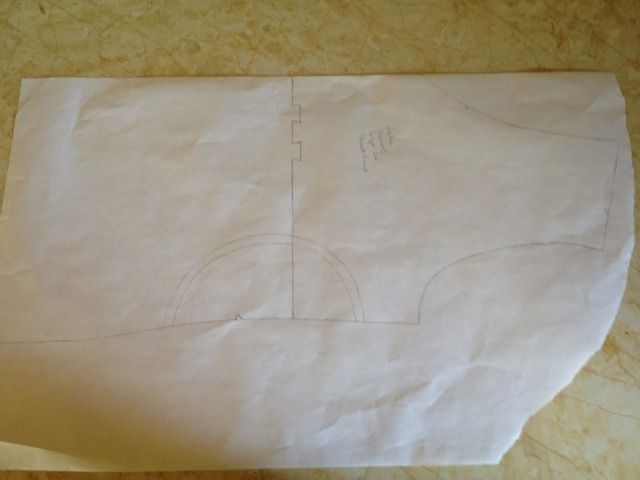
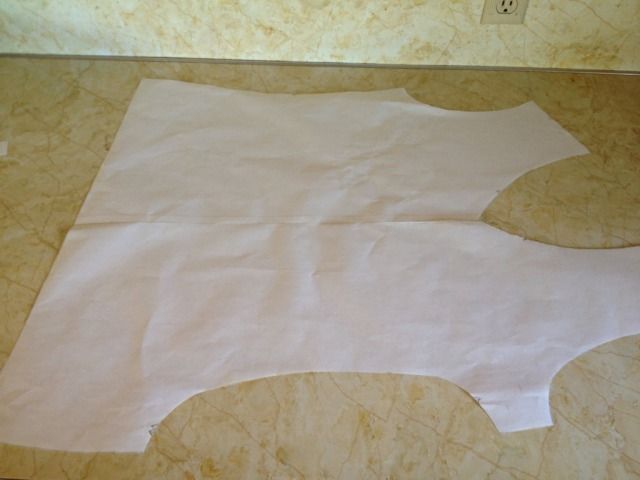
Trace your pattern off marking where you'd like the side cut out to be.
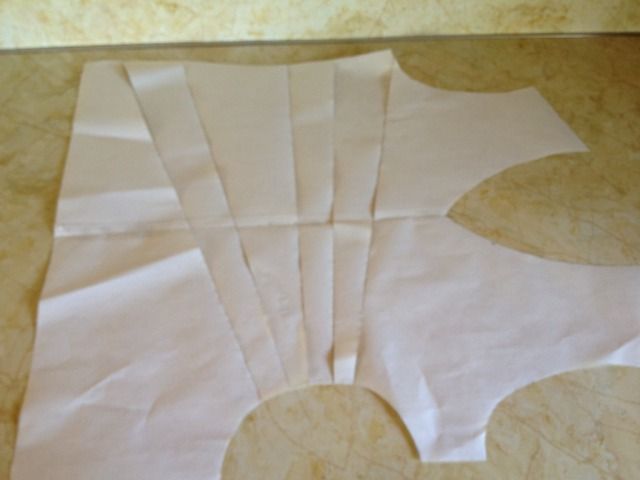
I didn't want to cut my base pattern (just in case I want a plain tee shirt later) so I retraced it on to two sheets of freezer paper taped together. If you choose to cut your base pattern, you can just tape another sheet to the center front of the shirt so you have a full shirt front. It's very important to have the full shirt front at this point. Also add a seam allowance to the cut out at the side. You need to draw diagonal lines into your front and carefully cut them from the cut out, to about 1/4" from the edge of the left side.
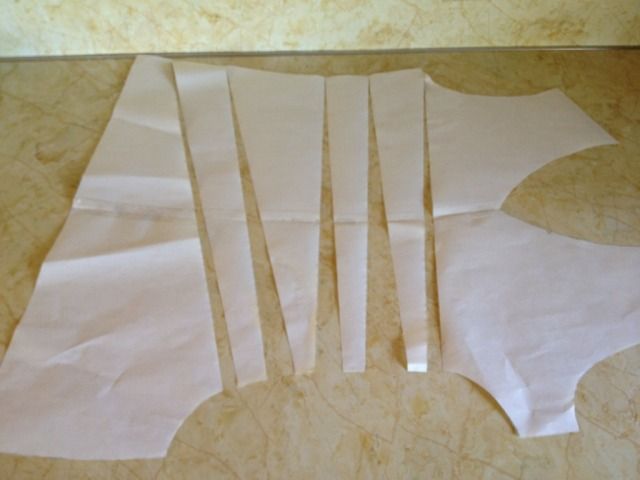
Next, decide how much ruching you would like for your shirt to have and carefully spread the slits apart. Try to keep them even.
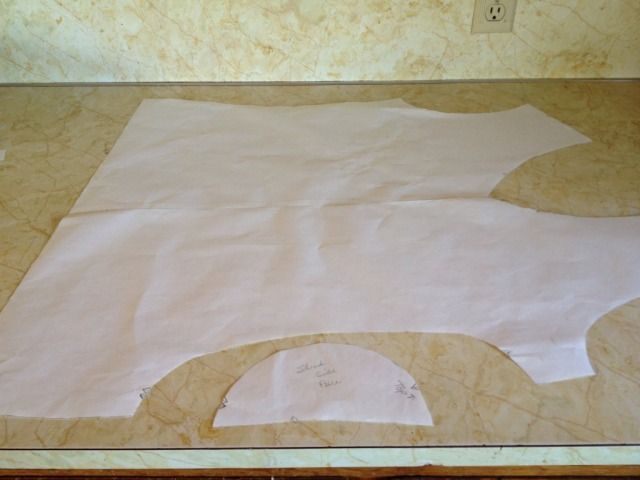
At this point you will need another two sheets of paper to retrace the top following the curve of the cut out.
Questions? Ask away. :-) Happy Sewing!
No comments:
Post a Comment