I did this cover using the Very Baby Side Snapping cover pattern. (I guess they have discontinued it so you could easily substitute the New Conceptions Quick Snap Cover.) You could do this on any cover but I've found it easiest on covers with straight edges vs. the round corners of the Very Baby Snug Wrap or New Conceptions Quick Wrap.
I've straightened the edges of the cover pattern to accommodate this type of binding.
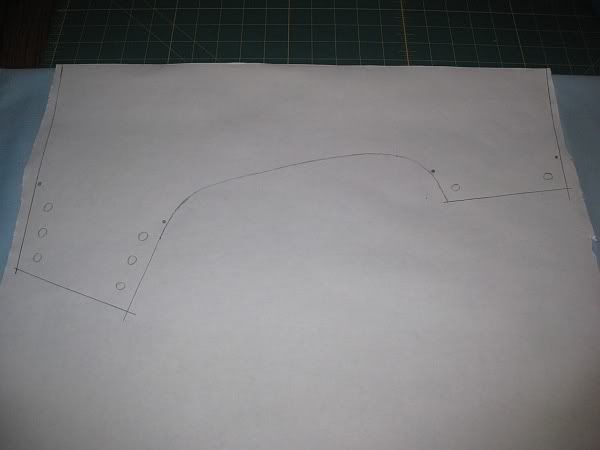
I cut two pieces of PUL for the inside and outside of the cover.
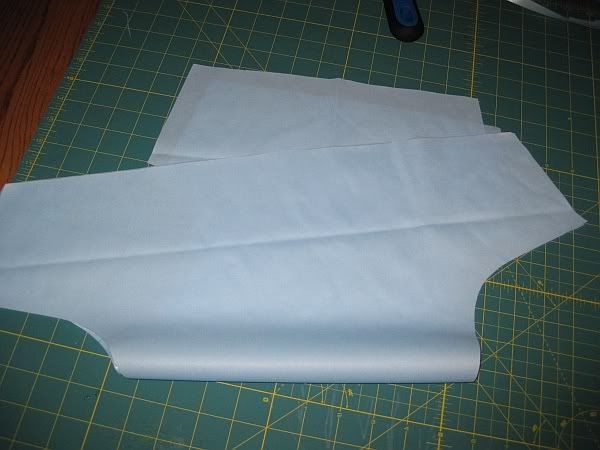
Carefully stitching close to the edge (no wider than 1/4") stitch all the way around the cover so it doesn't shift.
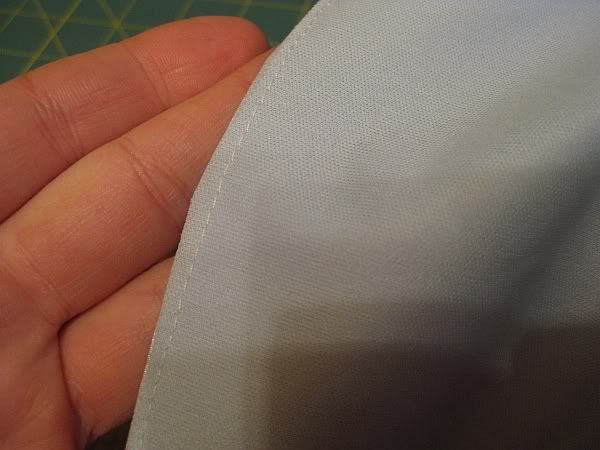
Mark your elastic anchor points for reference.
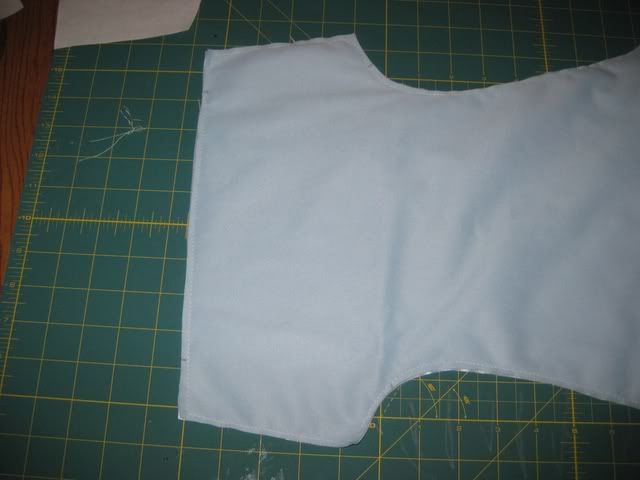
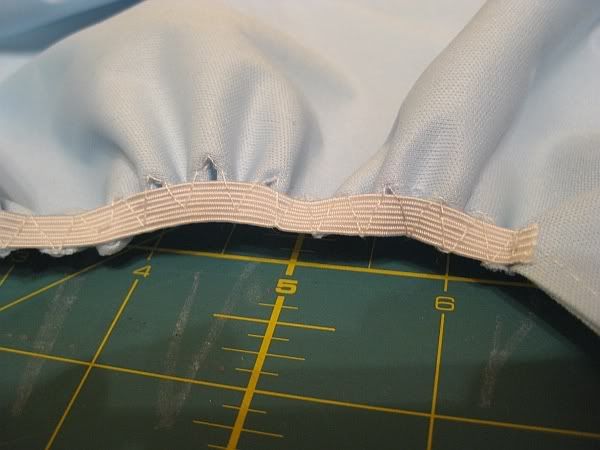
Using a three step zig zag and 1/4" elastic, stitch your elastic on from anchor point to anchor point.
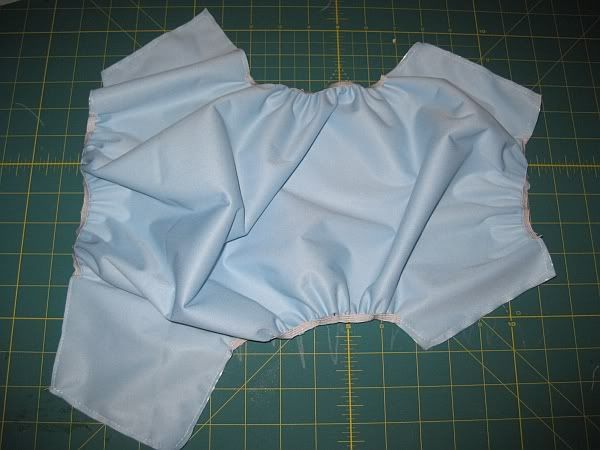
Do this at each elastic anchor section all the way around the cover making sure to put it right on the edge so it's easy to bind.
(I forgot to take a picture of this part but you will cut your PUL binding strips 2" wide across the 60" width of the PUL. You will need two of the strips for the size L cover.)
Next you will fold your "bias" into the binder foot and load it. My binder foot is a snap on making it much easier to snap on and off. I find it easiest to snap off and on each time I load it.
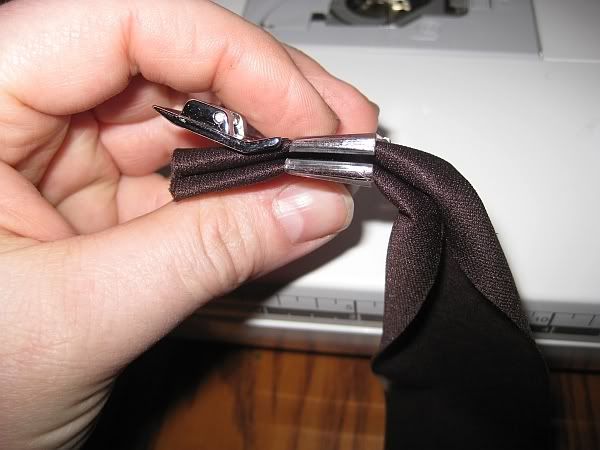
Starting with the front or back of the cover, slip your cover in between the slot in the bias foot sandwiching it between the top and bottom of the binding in the foot. (We are going to be stitching the front back and leg areas first.)
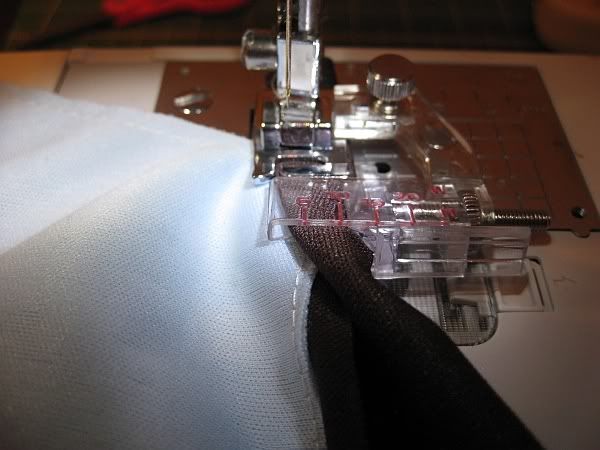
Sewing with a straight stitch, stitch to the elastic. Once to the elastic you can stop and take a break for a second. You will want to stretch your PUL binding slightly and stretch your cover so the elastic isn't gathering it and continue sewing.
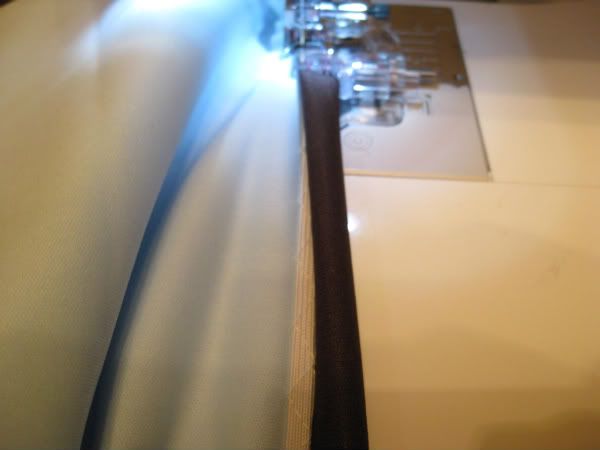
Make sure to get the elastic all the way into the middle of the binding so it won't stitch the elastic again when you are stitching the binding on.
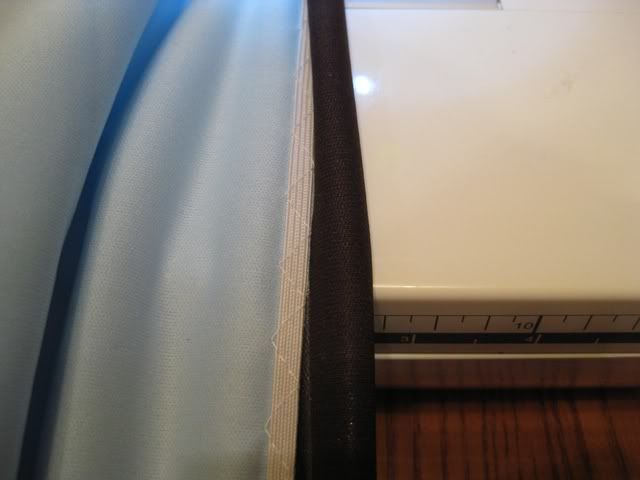
Stitch to the end and then you can stop and take it off of your foot.
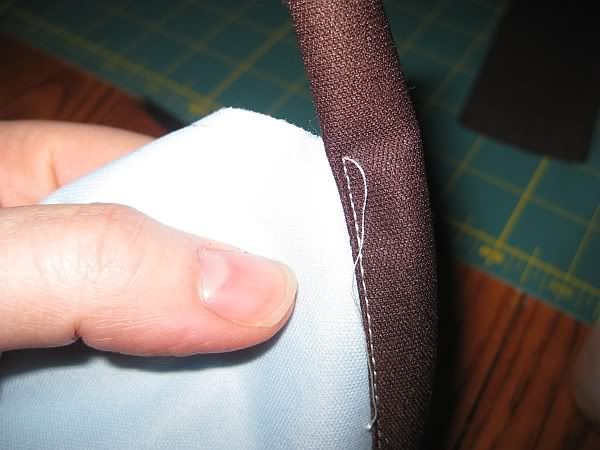
Clip the edge of the binding all the way to your diaper cut so that it's flush.
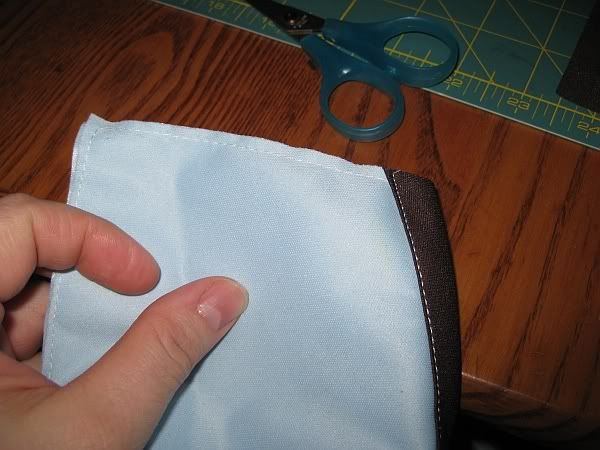
Continue doing the legs and back or front clipping right next to the diaper cut after you finish.
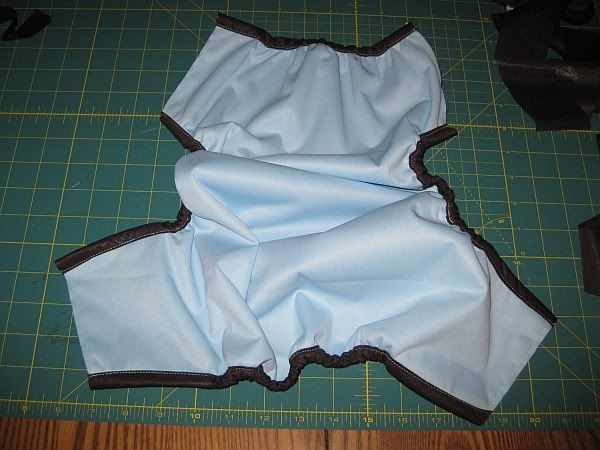
Next we bind the sides. You will want to leave the end pieces of your binding long enough to fold over to the back when we finish the cover. A little tip: If you already have your binding stitching perfectly don't stop after each side. Just simply slip the next side in and keep stitching. This is one less "load of the binding" that you have to do.
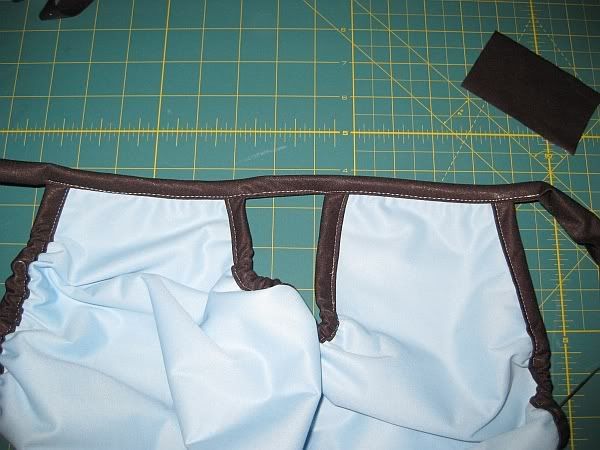
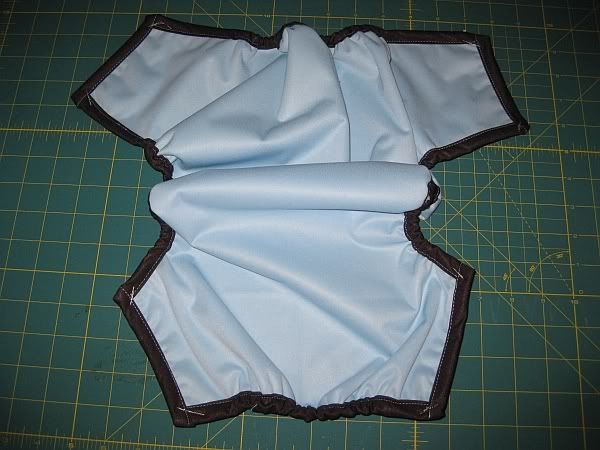
All finished binding. Now you can see the tails on the side. Don't worry we are going to take care of those. :)
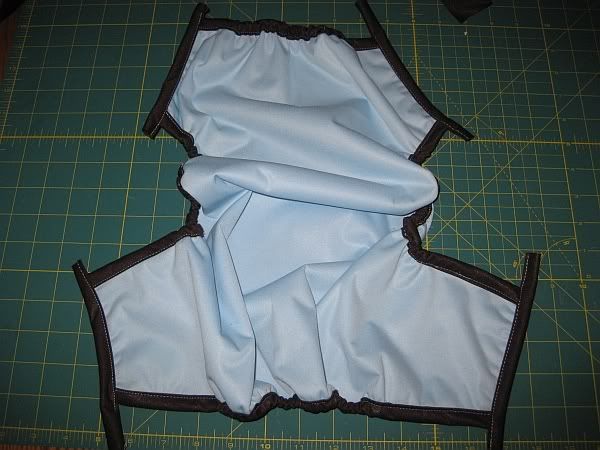
Turn them to the back side and carefully stitch it down and clip it close to the stitching.
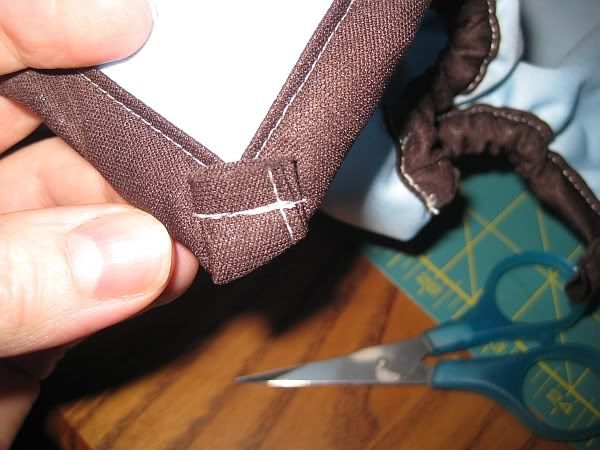
All that's left is to mark and add your snaps.
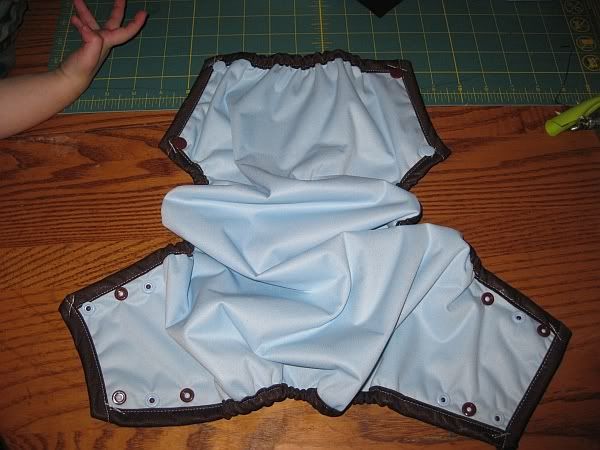
Here is what our finished product looks like on.
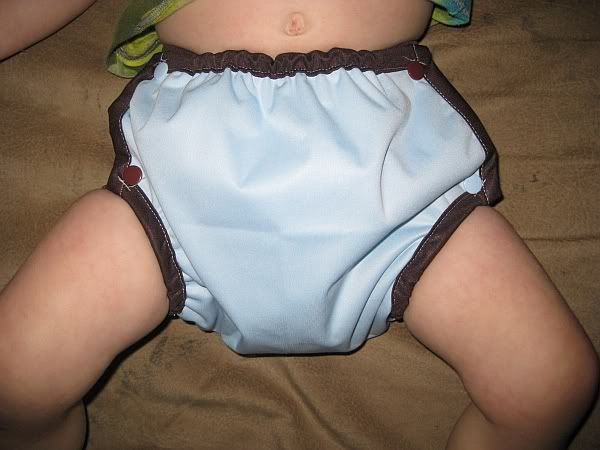
These are very similar to the Mother Ease Air flow covers and I LOVE them. :)
If you made it through the whole tutorial and have questions please let me know. I bought my bias foot on Ebay for $14.
